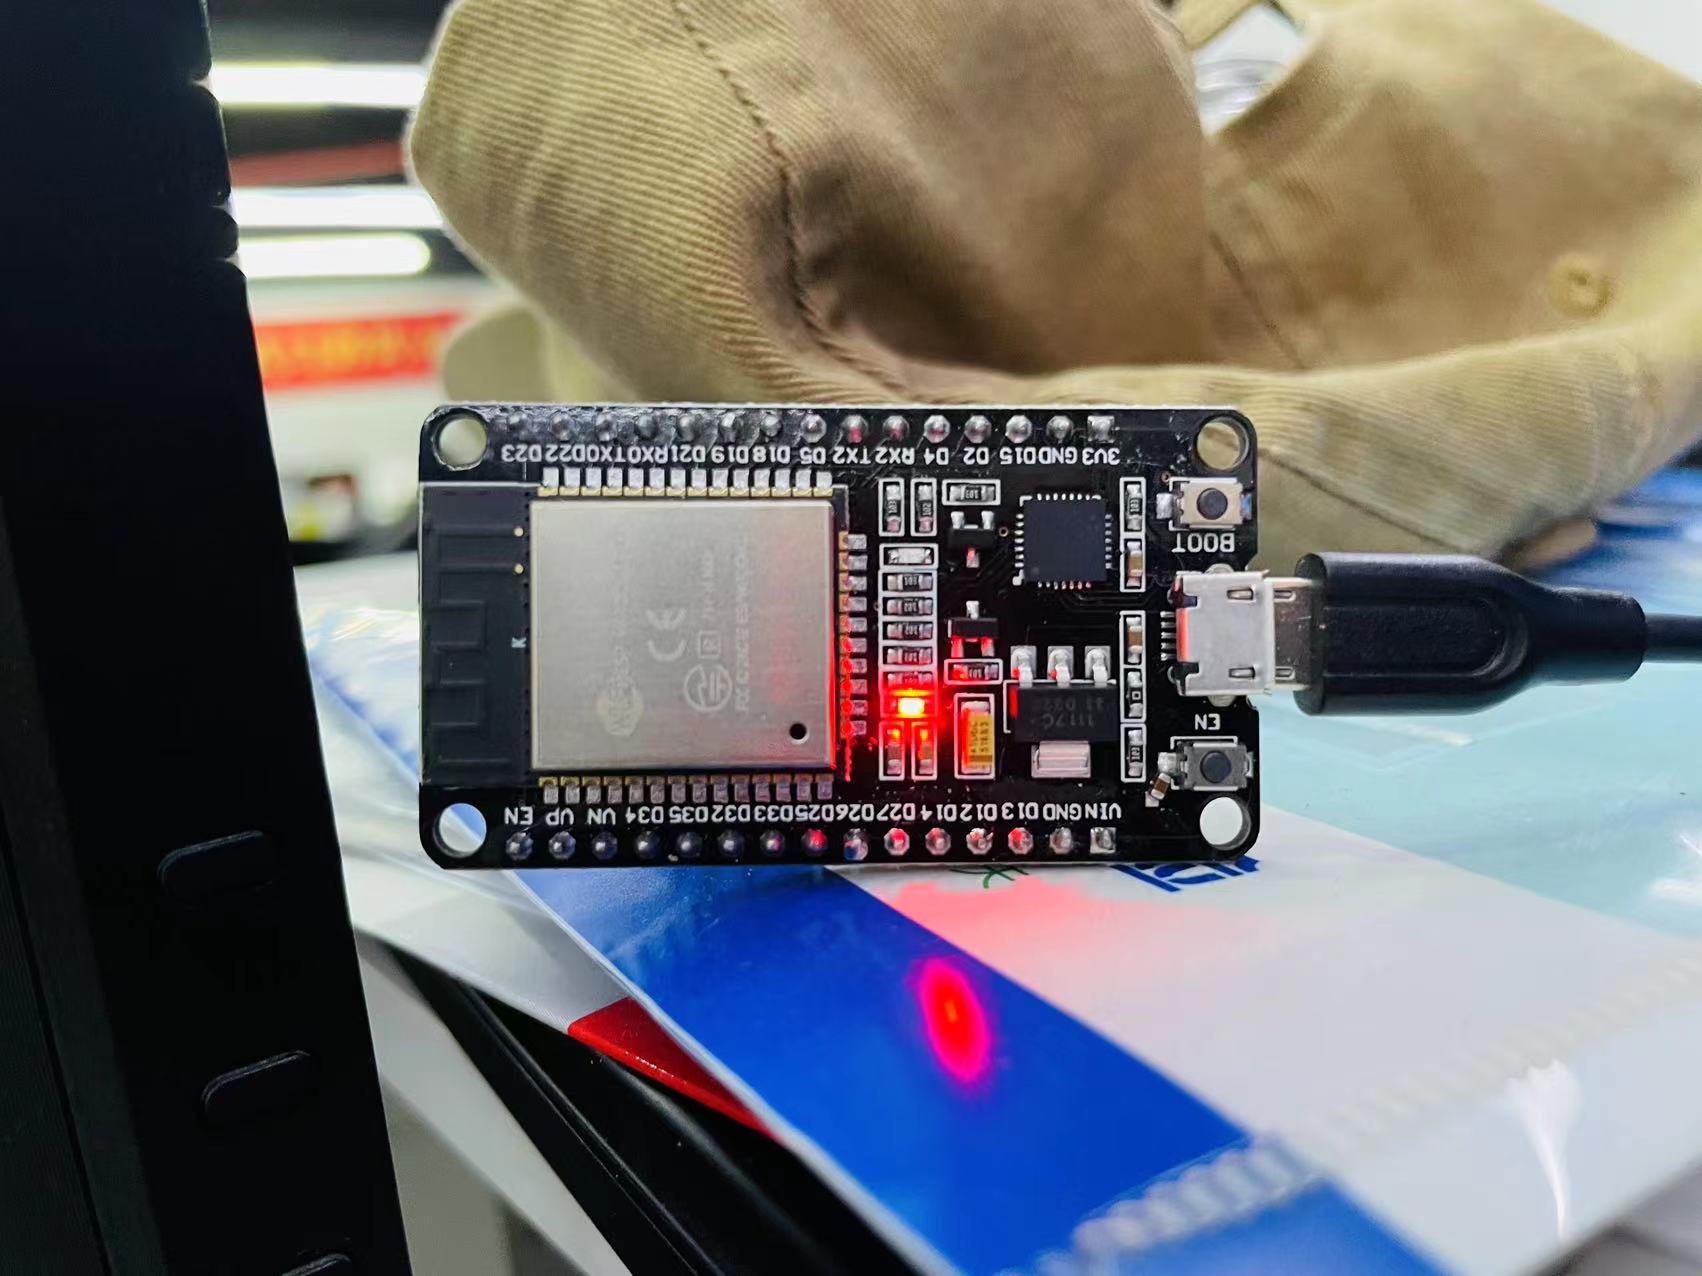
esp32获取zabbix数据进行亮灯提醒
因为报警太多了,有时候真看不过来,而又不能常打开一个屏幕看,所以用esp32进行亮灯提醒报警事件
思路
esp32通过zabbix获取到problem时进行亮灯操作,没有获取时灭灯
实现方式
因为环境问题和esp32才上手,arduino的代码还在学习中,所以间接通过一台中转server进行中转
1.使用一台server(网络环境问题),获取zabbix api的get.problem并且进行相应过滤,获取到problem
1
2
3
4
5
6
7
8
9
10
11
12
13
14
15
16
17
18
19
20
21
22
23
24
25
26
27
28
29
30
31
32
33
34
35
36
37
38
39
40
41
42
43
44
45
46
47
48
49
50
51
52
53
54
55
56
57
58
59
60
61
62
63
64
65
66
67
68
69
70
71
72
73
74
75
76
77
78
| import requests
import json
zabbix_url = 'http://zabbix/api_jsonrpc.php'
username = 'username'
password = 'password'
session = requests.Session()
def get_auth_token():
payload = {
'jsonrpc': '2.0',
'method': 'user.login',
'params': {
'user': username,
'password': password,
},
'id': 1,
}
response = session.post(zabbix_url, json=payload)
result = response.json()
if 'result' in result:
return result['result']
else:
raise Exception("Failed to authenticate with Zabbix API")
def get_current_alerts():
auth_token = get_auth_token()
payload = {
'jsonrpc': '2.0',
'method': 'problem.get',
'params': {
'output': 'extend',
'groupids': ['104','173'],
'filter': {
'value': 1,
},
'sortfield': 'eventid',
'sortorder': 'DESC',
},
'auth': auth_token,
'id': 2,
}
response = session.post(zabbix_url, json=payload)
result = response.json()
if 'result' in result:
return result['result']
else:
raise Exception("Failed to retrieve current alerts from Zabbix")
if __name__ == "__main__":
data = {
"problem": []
}
current_alerts = get_current_alerts()
if current_alerts:
for alert in current_alerts:
data["problem"].append(alert['name'])
json_data = json.dumps(data,ensure_ascii=False)
print(json_data)
else:
print("No current alerts found.")
|
上面获取problem 并且用crontabl将json结果保存在nginx的html中,进行展示
2.通过esp32从这个服务器每10秒钟进行get数据,判断是否json数据,不是进行灭灯,如果有problem进行亮灯
1
2
3
4
5
6
7
8
9
10
11
12
13
14
15
16
17
18
19
20
21
22
23
24
25
26
27
28
29
30
31
32
33
34
35
36
37
38
39
40
41
42
43
44
45
46
47
48
49
50
51
52
53
54
55
56
57
| #include <WiFi.h>
#include <HTTPClient.h>
#include <ArduinoJson.h>
const char* ssid = "wifi_ssid";
const char* password = "wifi_mima";
const char* url = "http://server/index.html";
const int LED = 2;
void setup() {
Serial.begin(115200);
delay(1000);
WiFi.begin(ssid, password);
while (WiFi.status() != WL_CONNECTED) {
delay(1000);
Serial.println("Connecting to WiFi...");
}
Serial.println("Connected to WiFi");
pinMode(LED, OUTPUT);
digitalWrite(LED, LOW);
}
void get_zabbix(){
HTTPClient http;
http.begin(url);
int httpResponseCode = http.GET();
if (httpResponseCode == HTTP_CODE_OK) {
String response = http.getString();
const size_t bufferSize = JSON_OBJECT_SIZE(1000);
DynamicJsonDocument jsonDoc(bufferSize);
DeserializationError error = deserializeJson(jsonDoc, response);
if (error) {
Serial.println("no json: LED OFF ");
digitalWrite(LED, LOW);
return;
}
else {
digitalWrite(LED, HIGH);
Serial.println("json: LED ON ");
}
http.end();
jsonDoc.clear();
}
}
void loop() {
get_zabbix();
delay(10000);
}
|
现在就能正常的烧录程序进行使用了
坑点
1.zabbix api的get.problem出来的结果会出现禁用主机的problem,这个是无法过滤的,需要删除禁用主机或者清楚告警
2.esp32针脚不一样,需要自己查,我这个gpio 2控制的是wifi蓝色指示灯